A key element in any robust digital marketing strategy is social media, and Facebook Ads in particular. In 2019, ad impressions went up 33% according to HootSuite, which means that more and more organizations are leveraging Facebook ads in order to get in front of their core audience.
And now, you’re wondering, ‘what’s does my organization have to offer by using Facebook advertising?’ which is a great question. With Facebook advertising, you’ll be able to increase engagement on your posts. You can create an ad that entices people to signup for your newsletter. You can target ads to a geographical area to increase awareness about an upcoming event (with COVID-19 safety measures in place). Or, with the end of the year approaching, you’ll be able to target custom audiences, such as people who donated last year, to make another gift before the end of 2020. Whatever your organization’s goal is, you can make the Facebook advertising platform work for your goal.
If you aren’t already advertising on Facebook, then follow along with this article to get started with advertising on Facebook. And if you haven’t already, get your page set up on the Facebook Business Manager first before you begin diving into the Ad Manager. (In September 2020, the Facebook Business Manager was rebranded as the Facebook Business Suite)
Get Started with Advertising on Facebook
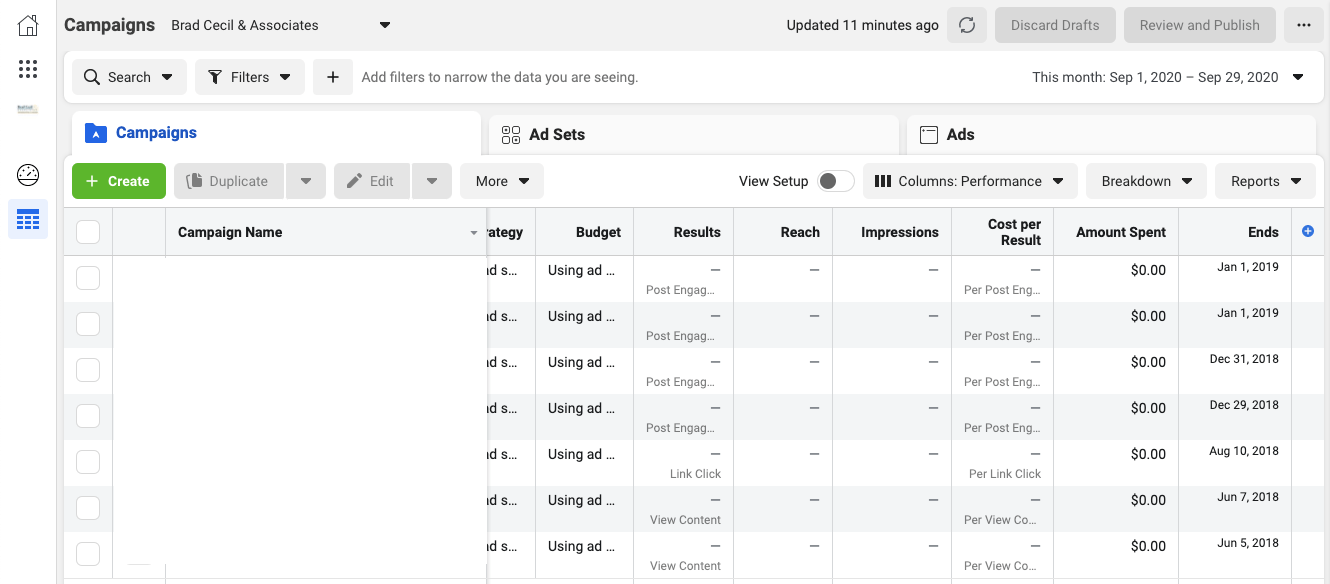
Go to your Facebook Ads Manager account and select the + Create button to start a new Facebook ad campaign. Ads Manager gives you access to all of the creation tools in one place.
Choose between the Auction or Reach and Frequency Buying Type. Auction buying offers more choice, efficiency and flexibility to your ads. Reach and Frequency buying lets you plan and buy your campaigns in advance with more control over your frequency settings. You can learn more about the differences here.
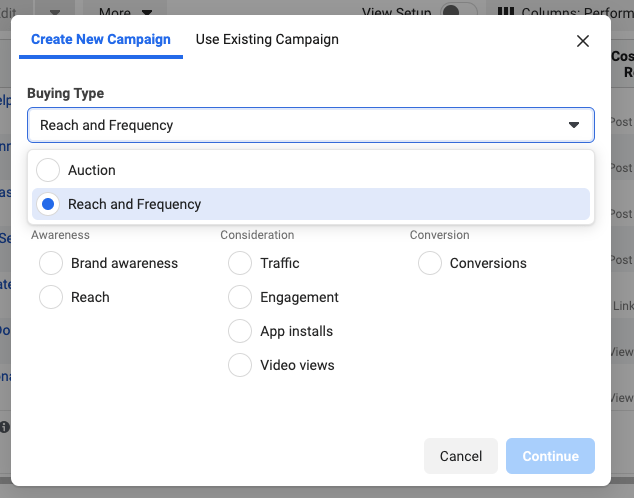
Next, you’ll need to select the Campaign Objective. There are three broader categories, or goals, of campaign objectives: Awareness, Consideration, and Conversions.
Awareness
- Brand Awareness: Increase people’s awareness of your organization
- Reach: Show your ad to as many people as possible
Consideration
- Traffic: Send people from Facebook to your organization’s website
- Engagement: Reach people more likely to engage with your post with likes, comments and shares
- App Installs: Send people to the store to download your organization’s app
- Video Views: Share your organization’s video with people who will most likely watch it
- Lead Generation: Create ads that collect info from people interested in your organization
- Messages: Connect with people on Messenger, Instagram, and WhatsApp
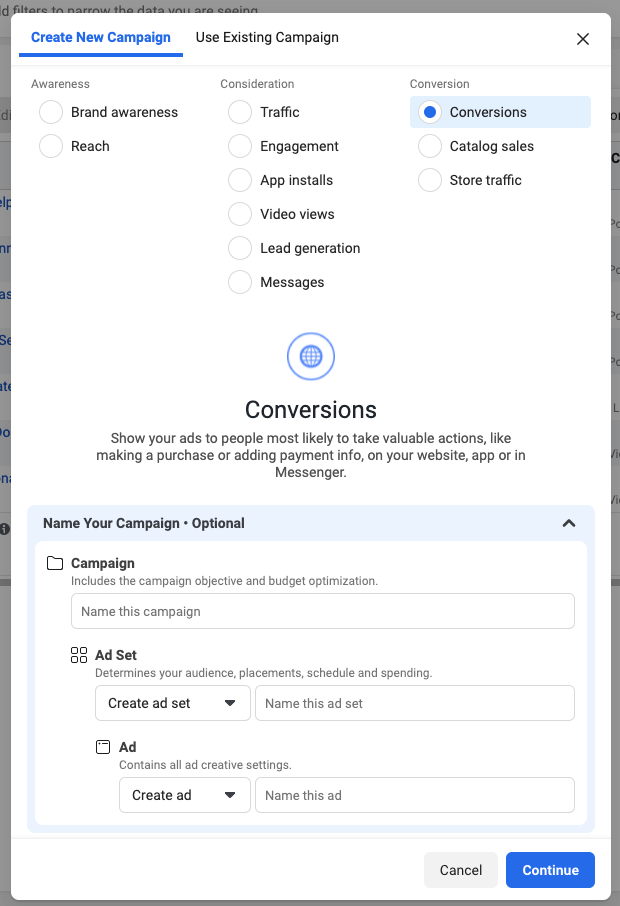
Conversion
- Conversions: Encourage people to take a specific action on your organization’s website
- Catalog Sales: Show products from your e-commerce catalog
- Store Traffic: Promote your brick-and-mortar organization’s location
Once you select your campaign objective, you can then move on to name your campaign, ad set, and ad. These are the three levels of creating a Facebook Ad campaign.
- Campaign level: This is where you select the ad objective, as described above.
- Ad Set level: This is where you define your audience, choose where the ads are shown, when they’re shown, and determine your budget.
- Ad level: This is where you’ll design the ad, including graphics, videos and text.
Campaign Level
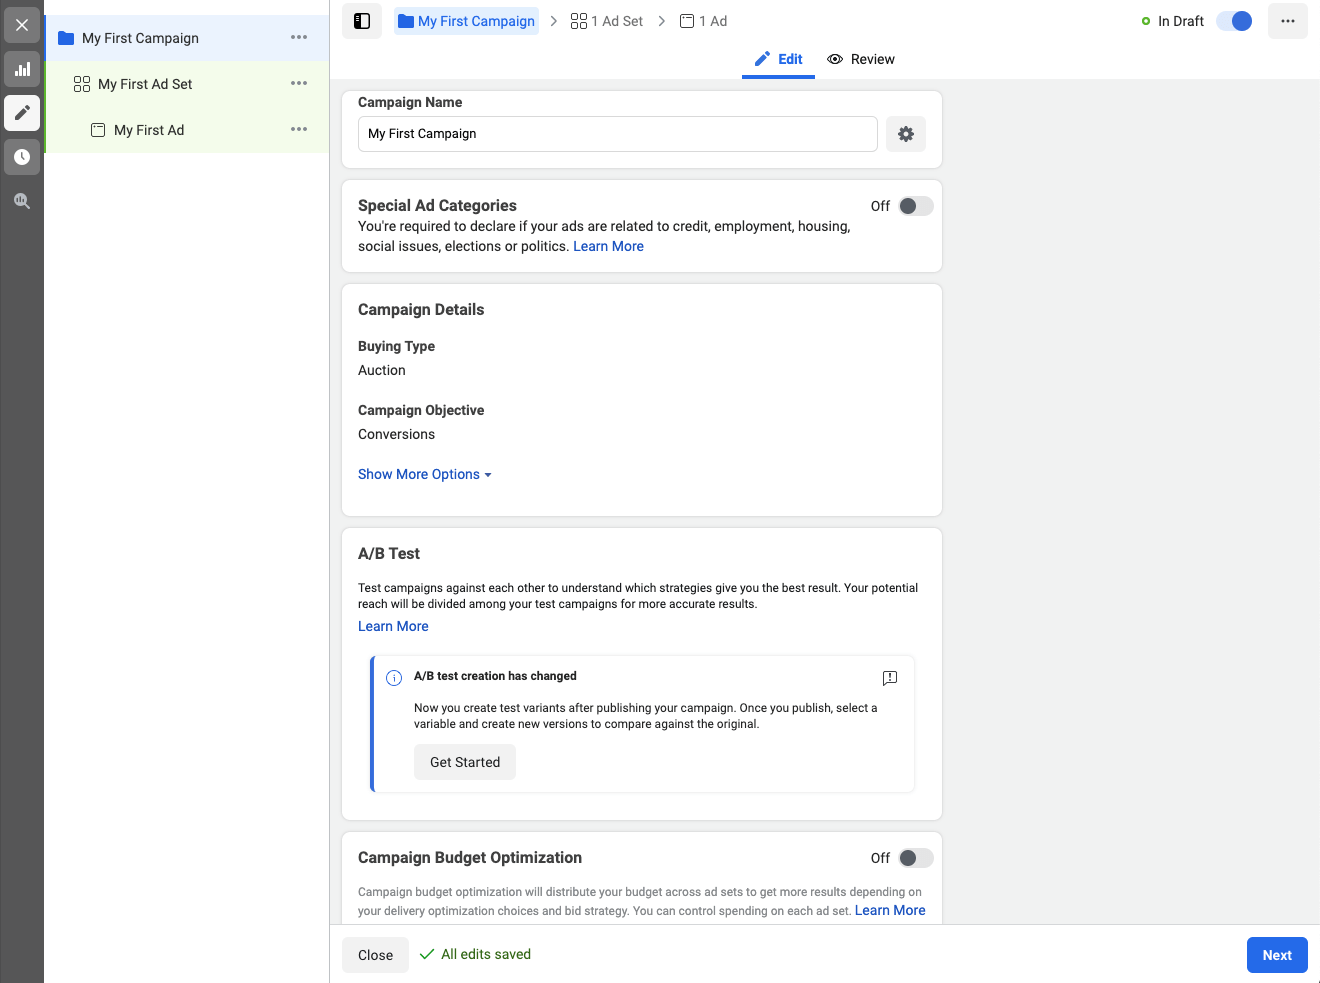
After you’ve named your campaign, you’ll be taken to the editing view at the Campaign level. From this view, you can edit the name of your campaign, change the details of the buying type and campaign objective, toggle if the ad falls into the Special Ads Categories, and toggle to use the Campaign Budget Optimization.
Campaign Budget Optimization will distribute your budget across all ad sets below the Campaign level to get more results depending on the optimization choices and bidding strategy. You can choose to run your ads on a daily budget or a lifetime budget. If you choose lifetime budget, Facebook will never spend over the amount entered. If you choose daily budget, then the ad may spend more on some days and less on others but maintain an average daily budget.
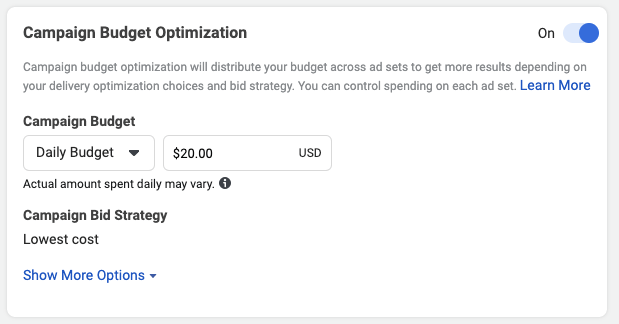
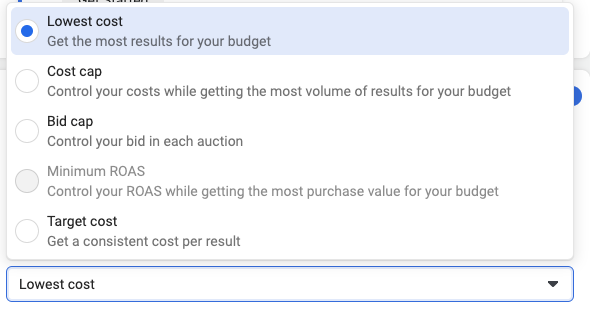
Once you choose Lifetime or Daily budget, you also have the option to choose your Campaign Bid Strategy:
- Lowest Cost: Get the most results for your budget
- Cost Cap: Control your costs while getting the most volume of results for your budget
- Bid Cap: Control your bid in each auction
- Minimum ROAS: Control your Return On Ad Spend while getting the most purchase value for your budget
- Target Cost: Get a consistent cost per result
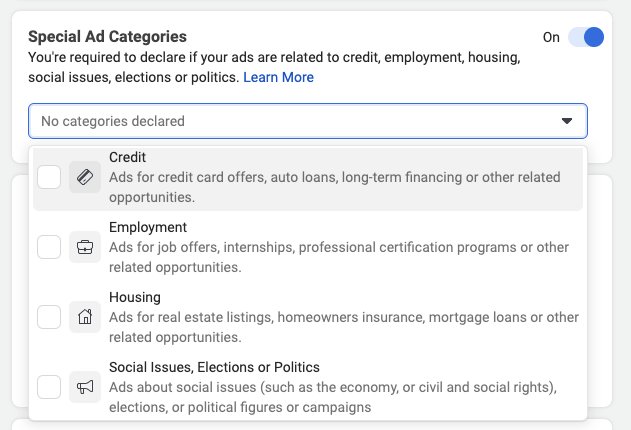
Special Ads Categories were created to follow by Facebook’s Advertising Policies. If you’re creating a campaign that targets Social Issues, Elections or Politics, then the ads need to be marked as the Special Ads Categories. Learn more about the social issues, elections or politics policies here. It’s worth noting that sometimes the algorithms will flag something as a political ad, even if that’s not how you intended it.
If you do plan on using the Special Ads Categories for your ads, then make sure that your personal Facebook account is authorized to run those types of ads. In order to get authorized, you must be a Page Admin or advertiser on the Page that is running the ads, have two-factor authentication enabled, and submit a copy of a US Passport/driver’s license/ID card. Learn more about becoming verified to run ads in the Special Ads Categories here.
Ad Set Level
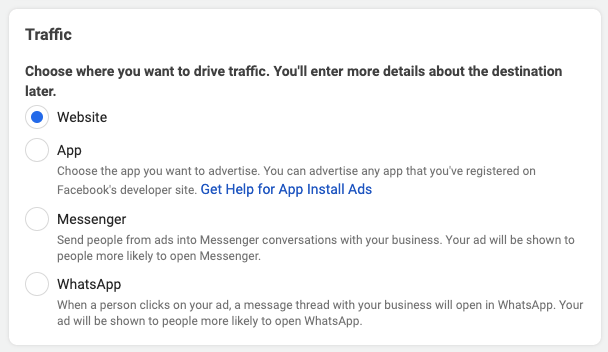
The Ad Set Level will show you various settings based on the Campaign Objective selected. If you select that you want the Campaign Objective to be Traffic, then you will have the option to choose where you want to drive traffic: Website, App, Messenger, or Whatsapp.
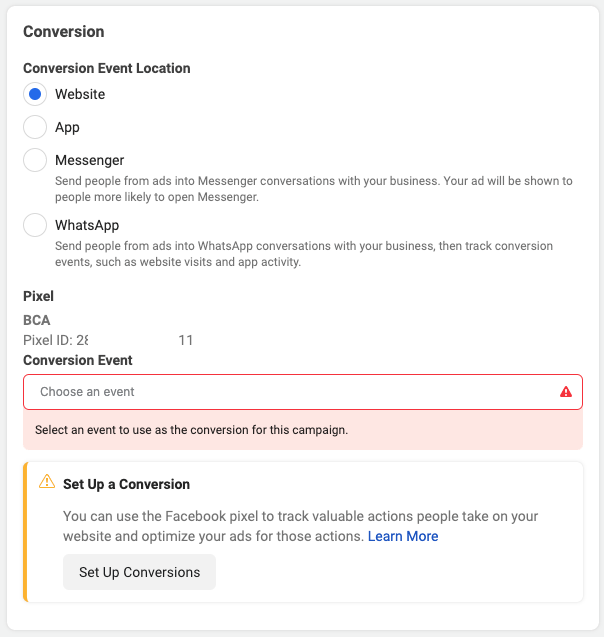
If you selected Conversions as the Campaign Objective, then you will see different options on the Ad Set level. You will also need to set up a Facebook Pixel in order to track the conversion, which we will cover later in this article.
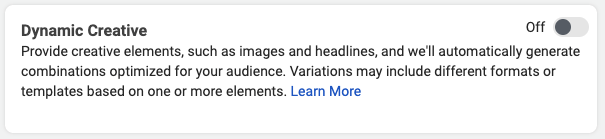
Next, you’ll have the option to toggle Dynamic Creative. Dynamic Creative takes multiple ad components then optimizes them to deliver efficient results for each impression served. This is a great option if you’d like to create personalized creative variations for each person viewing your ad.
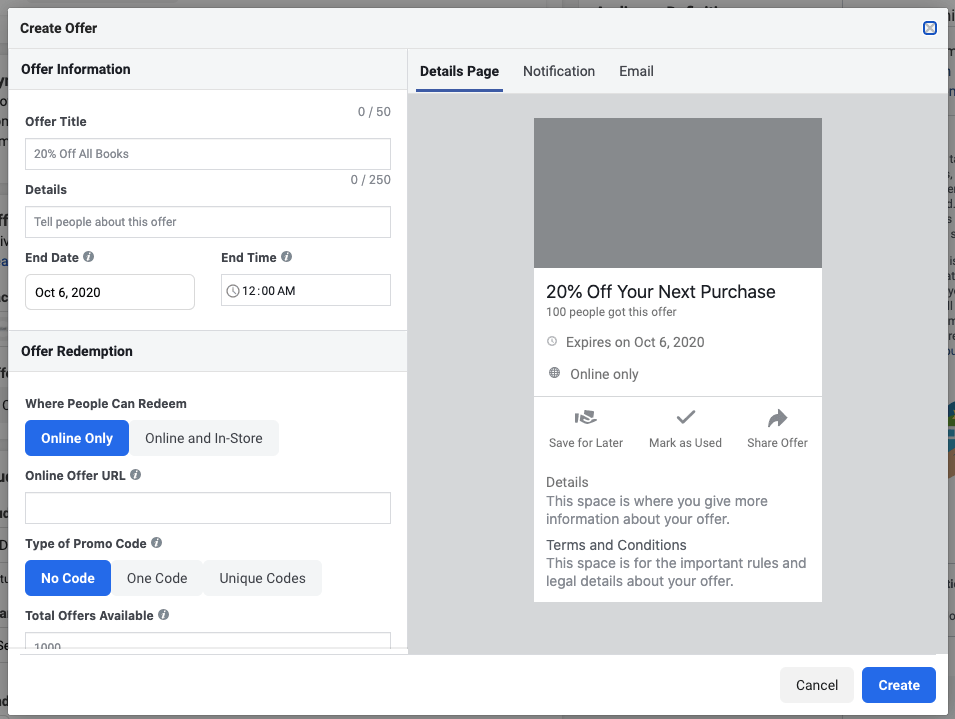
The next toggle is the Offer. You can choose to drive more conversions by creating an offer people can save and get reminders about.
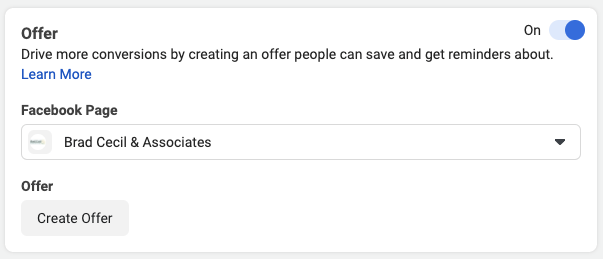
Turning this on will give you a popup option to create a discount for you to share with your customers on Facebook. It encourages your fans to shop on your website.
The next section is where you’ll choose your ad set’s Budget & Schedule. Here, you can choose whether you want this ad set to have a daily budget or a lifetime budget. If you have multiple Ad Sets in your campaign, you can choose the Campaign Budget Optimization to manage the budget across all the ad sets.
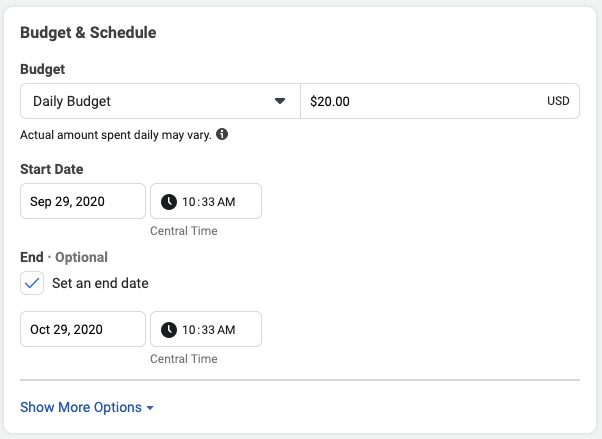
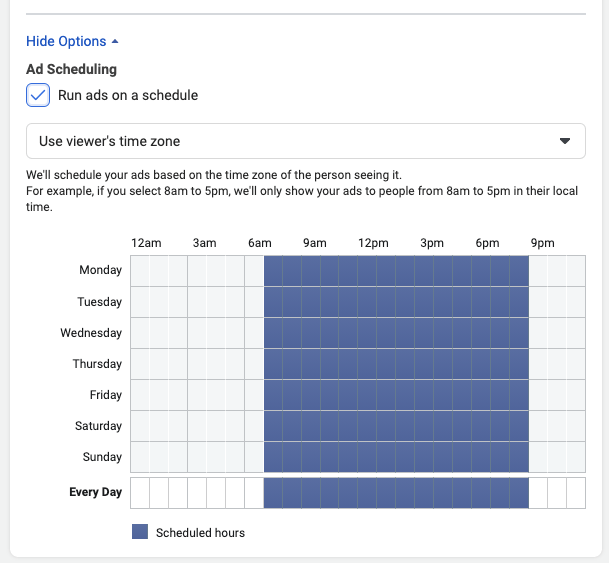
Under the Show More Options, you’ll be able to choose to run the ads on a schedule. Here, you’ll have the option to choose the time your ad runs. For example, you can run the ads in the user’s time zone and only deliver the ads between 5-9 p.m., respective of their location.
The next section is your audience selection. You can create and save a new audience from the Ad Set. Or you can use an audience that you’ve previously saved. You can find the saved audience in the Audiences section.
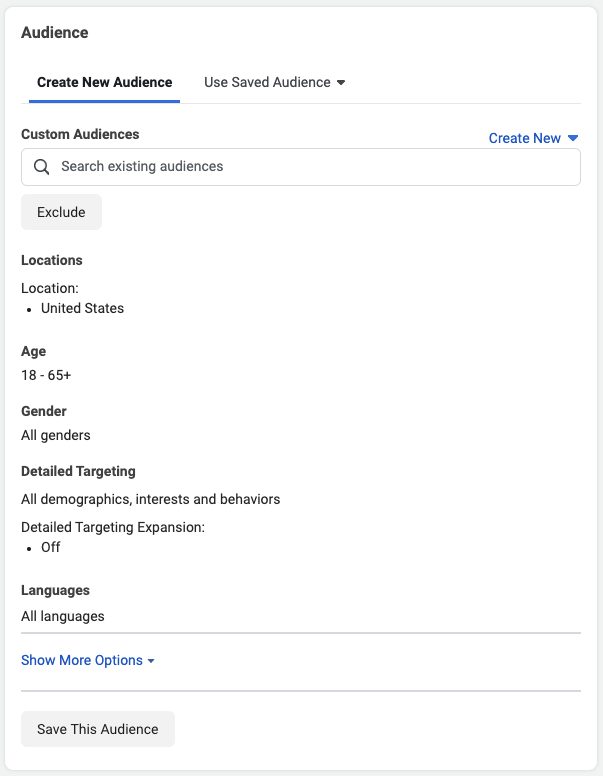
If you have a Custom Audience, you can select to target that list here, or you can choose to exclude that list here as well. For example, you can upload a custom list of people who’ve made a gift in the past 30 days, then exclude the list from receiving any ads.
You’ll also have the ability to select the Locations, Age range and Gender type. The Detailed Targeting option allows you to refine the group of people the ads are shown to. The types of detailed targeting are additional demographics, interests and behaviors. The options may be based on ads they click, pages they engage with, mobile device and network speed. Learn more about the best practices to use with Detailed Targeting here.
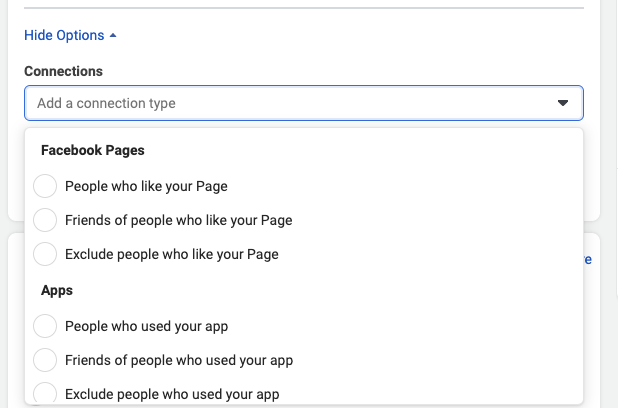
If you select the dropdown to Show More Options, you’ll have to ability to add connection. If you’re looking to target the Fans or Friend of Fans of your page, then this is where you’ll select that ability. You also have to option to target App and Events connection. You can choose to exclude these groups as well.
Once you have your audience chosen, next you can choose the Placements for your ads. By default, Facebook has Automatic Placements chosen for your ad set. Depending on the ad type, content and creative designs, every placement may not be available.
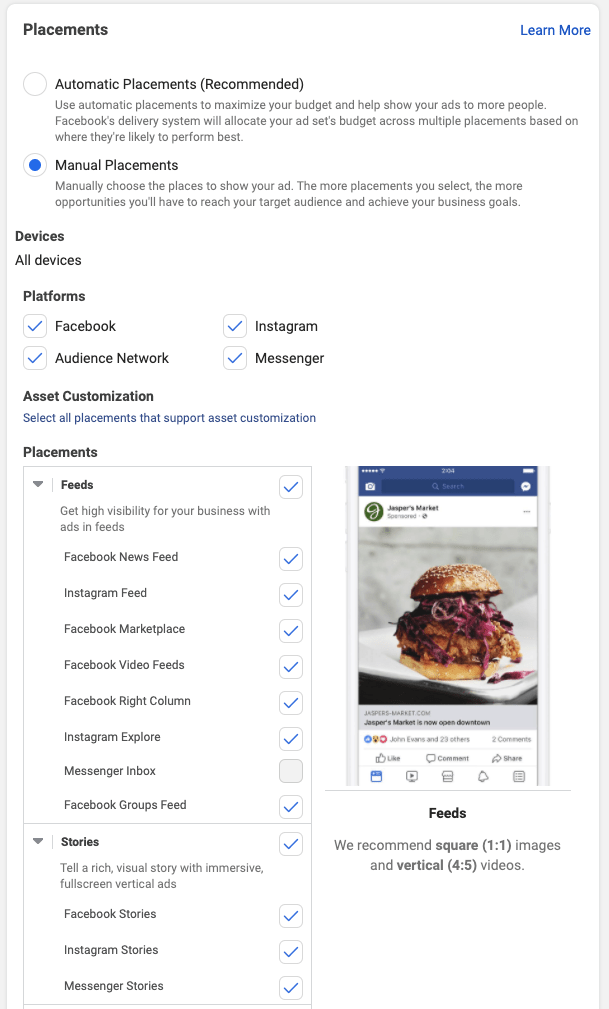
Manual Placements, on the other hand, allow you to choose which Platform your ads are served on. This is great if you only want to serve ads on a couple of platforms. The Platform’s placements are:
Facebook: News Feed, Marketplace, Video Feeds, Right Column, Groups Feed, Stories, In0-stream Videos, Search Results, and Instant Articles
Instagram: Feed, Explore, Stories
Audience Network: Native, Banner and Interstitial, Rewarded Videos, In-Stream Videos
Messenger: Stories
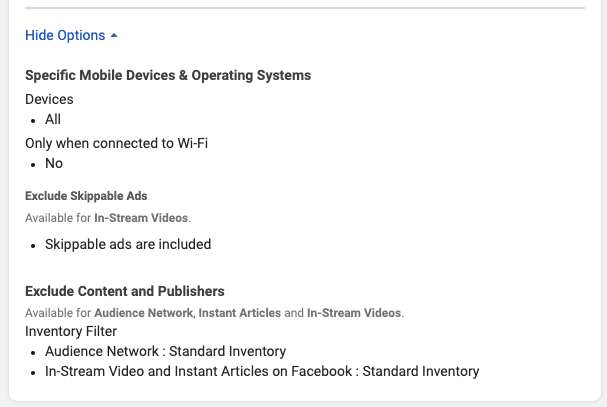
If you choose Manual Placements, you’ll have a drop-down to Show More Options below. This allows you to choose Specific Mobile Devices & Operating Systems as well as Exclude Content and Publishers.
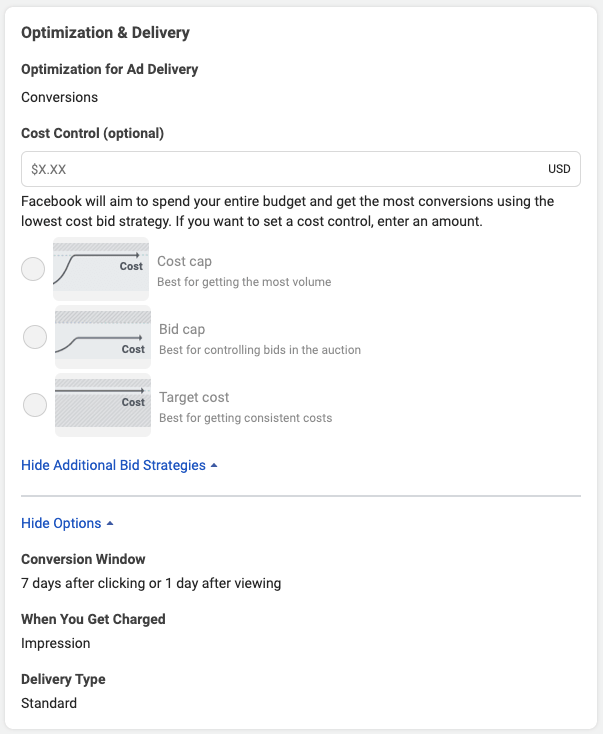
The final section on the Ad Set Level is the Optimization & Delivery section. When you make your Optimization for Ad Delivery choice, you’re telling Facebook to get you as many/much of that result as efficiently as possible. For example, if you optimize for link clicks, your ads are target to people in your audience who are most likely to click the ads’ links.
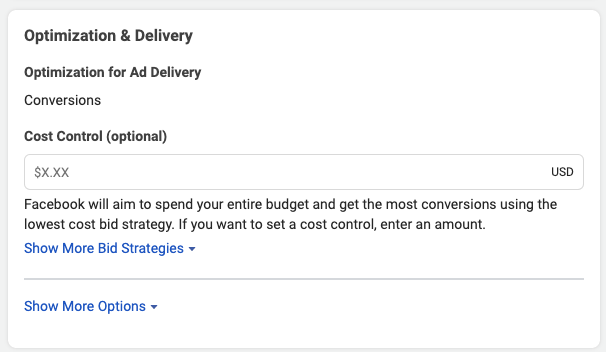
The Cost Control settings is an optional feature at your desired maximum cost-per-action and helps you control the costs of the results. A bid control is the maximum amount that the ad can bid in each auction. If you choose to use a Cost Control amount, then the default strategy chosen is the cost cap.
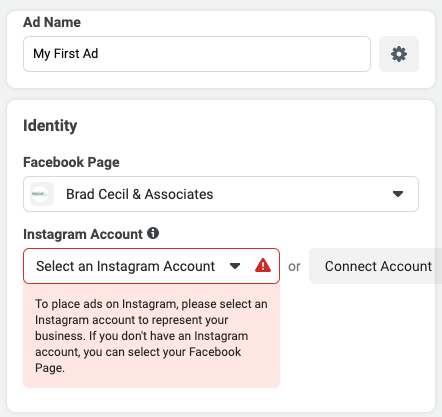
Once you have completed your Ad Set Level options, click the blue Next button to continue onto the Ad Level customization. The first option is to give your Ad a name, followed directly by the Page that you want to run your ad from. If you manage multiple pages, then you can select the correct Page for the ad. If you opted to run ads on the Instagram Placement (a setting in the Ad Set Level), then you can choose the Instagram account in which to show the Ads on.
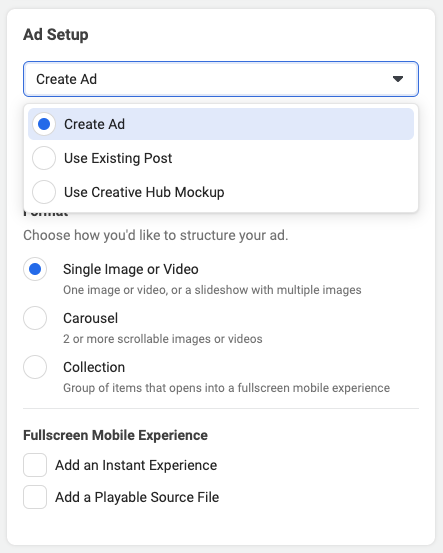
The next section is the Ad Setup options. Here, you’ll have the option to Create Ad, Use Existing Post, or Use Creative Hub Mockup. Select Create Ad if you’ll be adding the creative designs at this time. Select Use Creative Hub Mockup if you’ve already created a mockup of your ad in Creative Hub.
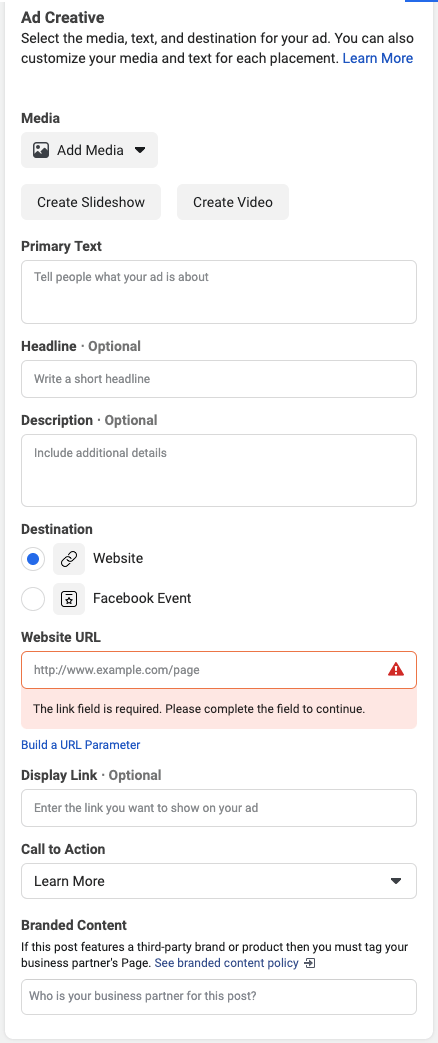
If you selected to Create Ad, then you’ll need to fill out the Ad Creative section. This includes uploading the creative design, adding primary text, headline, description, destination, display link, and call to action button.
If you selected to Use Creative Hub Mockup, then all the Ad Creative should be filled in once you select the mockup of your choice.
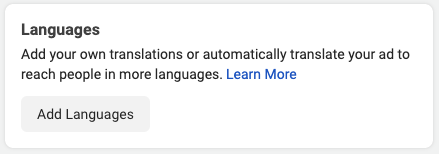
The next section is Languages. You have the option to add your own translations or to automatically translate your ad to reach people in more languages. Choose your default language from the drop-down menu. Next, you’ll have the option to add up to 48 more languages for your ad.
Since we started the Ad Campaign with the Objective of Conversions, we now have to add the tracking information. If you have already set up your Facebook Pixel, it will be automatically selected on the tracking section. If you haven’t set up a Facebook Pixel, then you will need to get that installed on your website before running an ad that uses tracking.
![]()
Facebook Pixel
A Facebook Pixel is an analytics tool that allows you to measure the effectiveness of your advertising by understanding the actions people take on your website. You can use the pixel to make sure your ads are shown to the right people, drive more sales, and measure the results of your ads. Once your pixel is installed on your website, it receives actions or events, which then provides that information back into the Facebook Pixel page in Events Manager. You’ll also have options to reach those customers again in future Facebooks ads.
Learn how to create and install a Facebook Pixel here.
Conclusion
Facebook Ads are a great tool to have in your organization’s digital strategy. Whether you plan to run the ads yourself or hire an agency to set up and run ad campaigns on your behalf, it’s always good to have the foundation knowledge of setting up a campaign.
There are so many options to choose from but once you’re familiar with the Ads Manager and its capabilities, you’ll be able to create a strategy to your organization’s advantage. If you’d like some help creating or managing your Facebook Ads campaigns, reach out via email or let me know in the comments below. I’d love to help!


One thought on “Facebook Ads Manager: An In-Depth Overview of Running Ads For Your Organization”